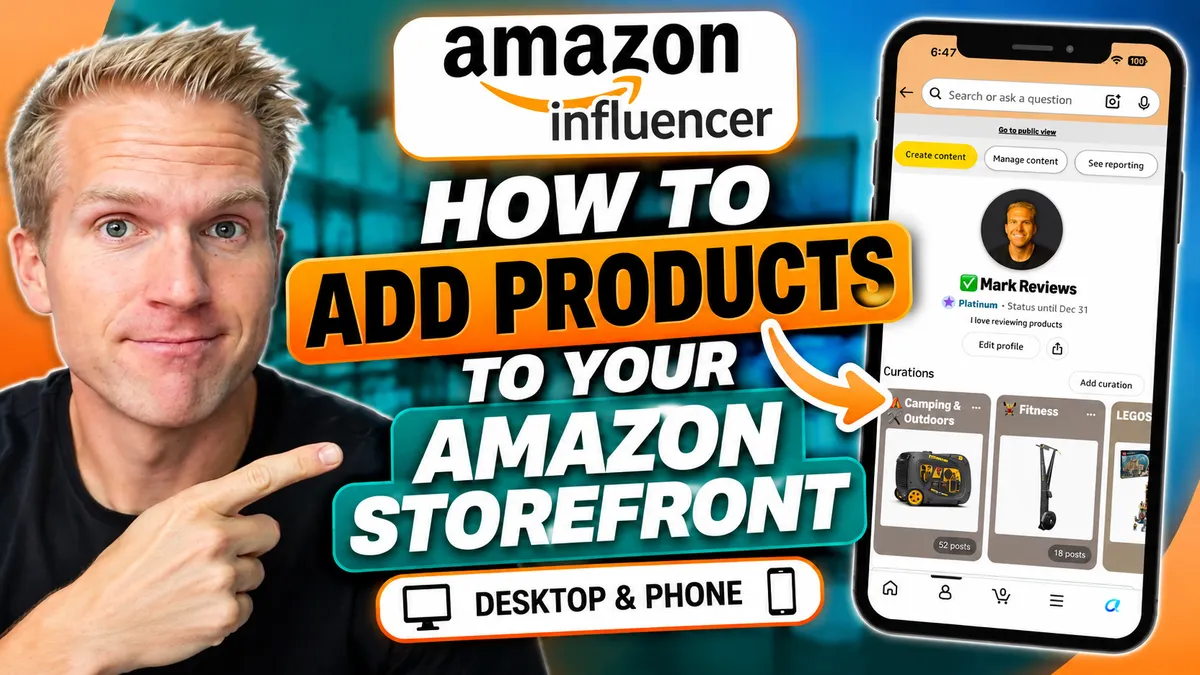
How To Add Products To Your Amazon Storefront (Easy Guide)
How to Add Products to Your Amazon Storefront (The Easy Way, on Desktop or Phone)
Whether you're an Amazon Associate or part of the Amazon Influencer Program, your storefront is where your audience shops your recommendations. But figuring out how to actually get products onto it can be surprisingly confusing.
I've uploaded more than 1,700 product review videos to my own storefront, so I've learned the fastest way to do it, and the small details that make a big difference in sales. In this guide, I'll walk you through adding products from both your desktop computer and your phone, plus how to optimize each post so it actually converts.
First, Find Your Amazon Storefront
It sounds like a funny question, but it comes up all the time: "Where is my storefront?"
Here's the easiest way to get there:
1. Google Amazon Creator Hub and click the first link.
2. From the Creator Hub, click Switch back to Creator Studio.
3. From there, choose Post to my storefront, or click the Storefront button to go to your storefront homepage.
Bookmark it once you're there, and you'll never have to hunt for it again.
Understanding the Types of Storefront Posts
When you click Create content in the top left of your storefront, you'll see several post types to choose from:
- Media posts
- Photos
- Idea lists
- Videos
Every one of these links back to Amazon products. The different formats simply give your audience a way to filter what's on your feed. In my experience, review videos are the backbone of a strong storefront, so that's what we'll focus on here.
How to Add Products to Your Storefront on Desktop
Step 1: Start a Video Post
Click Create content in the top left, then select Post video and photo.
Step 2: Drag and Drop Your Video
You can either drag your review video into the upload box or click to upload it. I recommend dragging and dropping. For whatever reason, clicking to upload sends you to a different editing and titling format. To keep it simple, I download the video I recorded and drag it right in.
Step 3: Tag the Correct Product
Amazon now uses an AI tool that scans your video, picks up the words you use to describe the product, and suggests products to tag (along with a title and description).
This is the most important step: make sure you tag the exact product you reviewed. The product you tag determines which product page your video appears on. If a shopper is about to buy a product and sees a video for something different, they're far less likely to buy.
Step 4: Skip the Thumbnail, Focus on the Title
You can add a custom thumbnail. I used to, but I haven't in a long time. In my experience, shoppers pay much more attention to the title.
So instead of a boring title like "Unboxing the Stylus Watch," try something that builds curiosity:
> "What you need to see before buying this watch."
Step 5: Save and Submit
Click Save, then Submit. Your video will show up on your storefront shortly after.
How to Add Products to Your Storefront From Your Phone
Uploading from your phone is a super easy way to get content live without ever opening your computer.
Step 1: Snap a Photo of the Product First
Before you upload, open the Amazon app and pull up the product you reviewed. Open it so it shows up in your browsing history. (I'll explain why in a moment.)
### Step 2: Open Your Storefront in the App
Go back to the home screen, tap the second icon in the bottom row, and under Amazon Influencers, tap Storefront. It looks very similar to the desktop view.
### Step 3: Upload Your Video
Tap Create content > Post video > Photo library, select your video, and tap the check mark. The upload usually takes under 30 seconds, sometimes up to a minute.
### Step 4: Tag the Right Product (Here's the Trick)
Amazon will try to detect the product from your video, and it's usually pretty smart. But for common products with lots of lookalikes, it can be hard to find the exact one.
That's where the earlier step pays off. Tap Browse history, and the exact product you just viewed will be right there, ready to tag.
### Step 5: Add a Title and Save
Tap Add a title. Amazon will generate one for you. It's often fine, but I like to tweak it for curiosity, for example:
> "See how this toothbrush holder looks before purchase."
Review the post, let the upload finish, and tap Save. That's it. Your video is live on your storefront.
## Key Takeaways
- Find your storefront fast through Amazon Creator Hub > Creator Studio.
- Drag and drop your video on desktop for the simplest upload flow.
- Always tag the exact product you reviewed so your video lands on the right product page.
- Titles beat thumbnails. Write titles that spark curiosity before the purchase.
- On mobile, view the product first so you can tag it instantly from your browsing history.
## Start Building Your Storefront Today
Adding products to your Amazon storefront doesn't have to be complicated. Upload consistently, tag accurately, and write titles that make shoppers want to watch, and your storefront will start working harder for you.
Want to go further? Grab my free guide, The Amazon Influencer Cheat Code, to learn how to get approved for the Influencer Program and grow your commissions month after month. It also includes an invite to my free Facebook group, where you can ask questions and learn best practices from other creators.
Prefer to watch? Check out the full video walkthrough where I upload products on both desktop and phone, step by step.


